 Skip to content

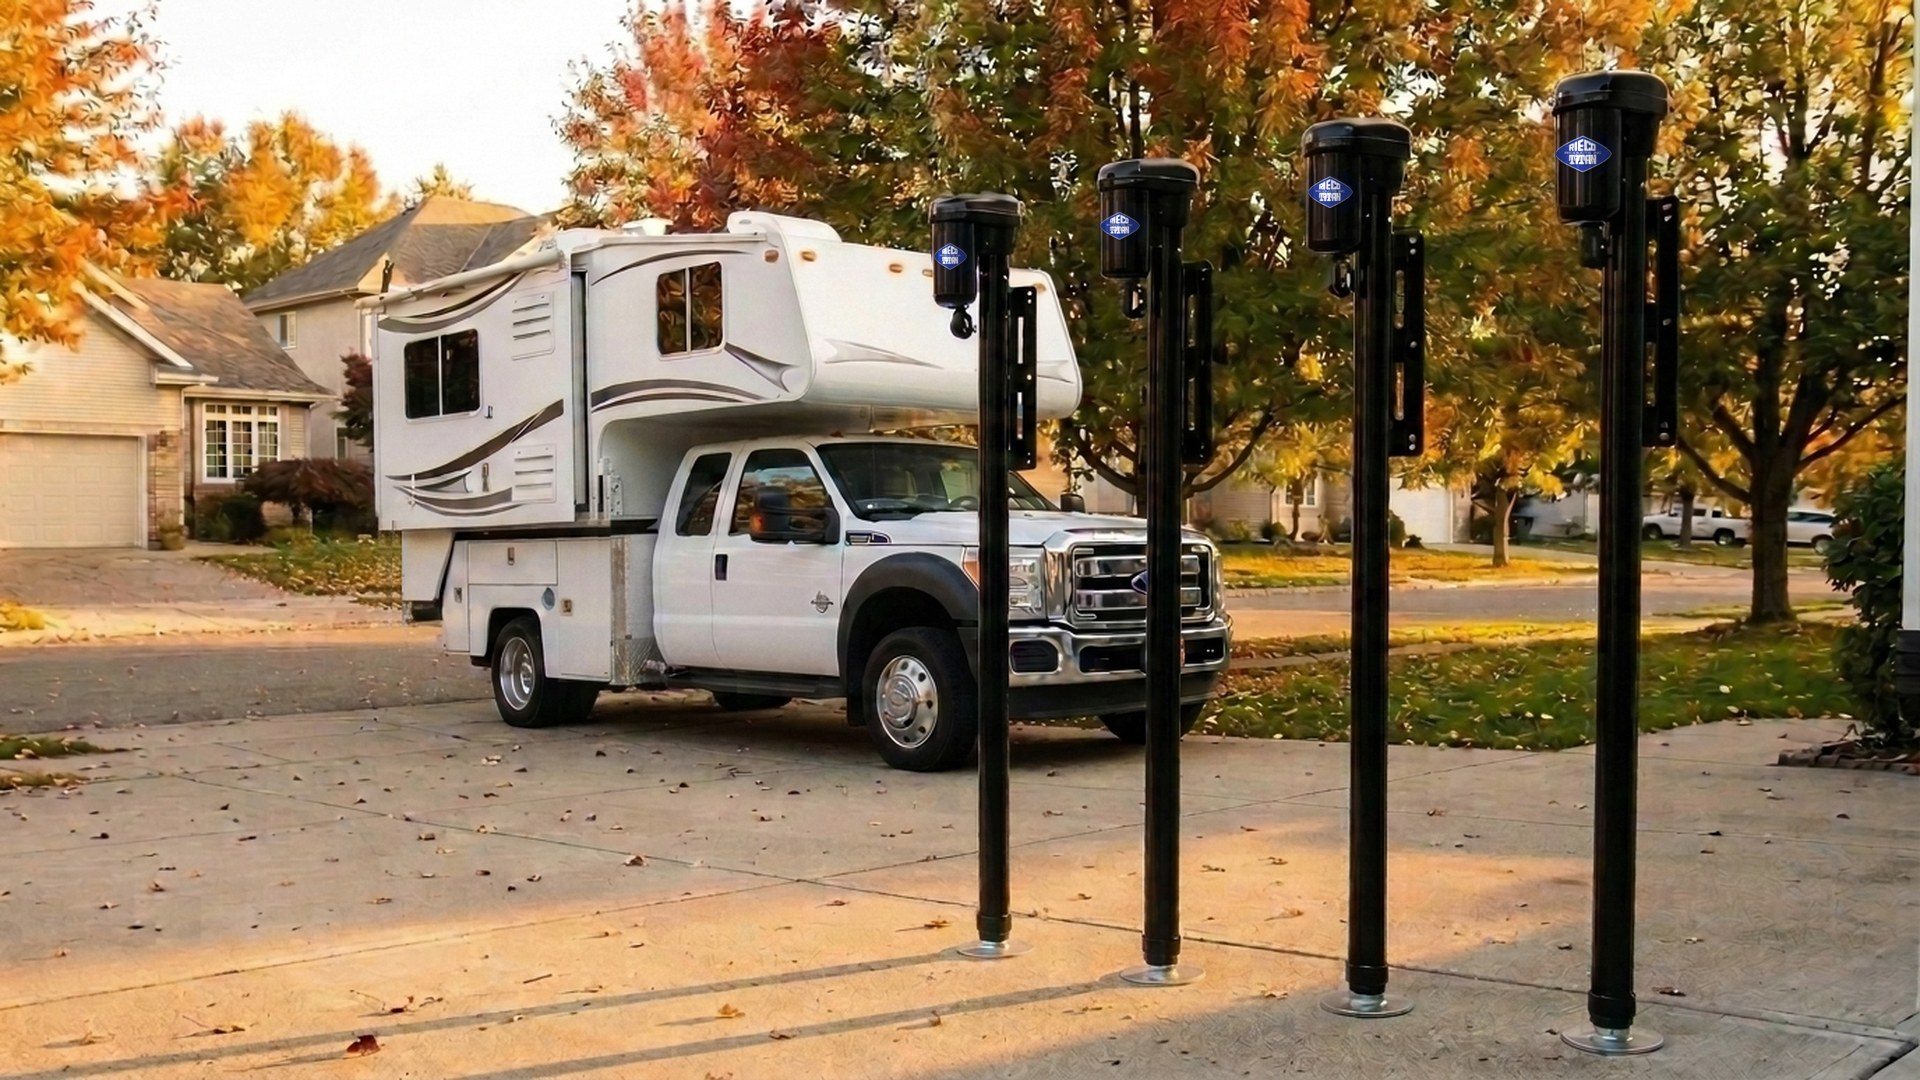
Quick answer: With standard brackets, removing a truck camper jack takes about 15 to 30 minutes per jack and a socket set. Plan on a second person for the first time. With the EZ Release quick-release bracket, it’s a tool-free job you can do alone, in under a minute per corner once you’ve practiced. Either way, store the jacks clean, dry and off concrete, and inspect them before you put them back on.
Four mounted corner jacks add roughly 100 to 120 pounds to a loaded rig, and they take a beating from road grit and trail hazards on every trip. Most owners leave them on anyway, because the standard way off involves wrenches, time and a helper. This guide covers when removal makes sense, the standard procedure, how to store the jacks, and what to check before you reinstall. It then covers the faster option for owners who do it often.
Why Take the Jacks Off at All
On a half-ton or a mid-size truck, 100 to 120 pounds of jacks can put you uncomfortably close to your truck’s Gross Vehicle Weight Rating (GVWR) once the camper, fuel, water and gear are loaded. Pulling the jacks for the trip recovers that margin. Check your truck’s door-jamb label and your owner’s manual for your actual numbers.
There are three other reasons owners take them off:
- Width on the road. Outboard-mounted jacks push the widest point of your rig outward. Most states cap vehicle width at 102 inches (8’6″), but limits and exceptions differ by state, so check your state DOT or motor vehicle code for the rules where you travel.
- Trail protection. Backcountry routes, low branches and rocky two-tracks are hard on hardware that hangs off the side of the camper.
- Off-season storage. If the camper sits on stands or in a covered shelter for months at a time, removing the jacks keeps them dry and out of the elements.
What to Have Ready Before You Start
Standard corner brackets bolt the jack to the side of the camper, so removal is a hardware job. Have these ready:
- The manufacturer’s recommended tools for your specific bracket hardware, typically a socket set and a wrench
- A second person, or a sturdy support to hold the jack while you back the bolts out
- A clean tarp or shop towel for the hardware, so nothing rolls under the truck
- A clear, level work surface. Pavement or a packed gravel pad. Soft ground will not give you the stability you need
Plan for 15 to 30 minutes per jack on the first removal. It gets faster once you know your hardware.
Standard Removal Procedure
Safety first: the camper must be fully supported by the truck bed or by camper stands before any jack comes off. Never work under a camper that is hanging on its jacks. Bolt count and bracket layout vary by jack model, so follow the manufacturer’s instructions for your setup. If you are unsure at any step, leave the jacks on and ask.
The general sequence:
- Lower the camper to the truck or to stands. The jacks should not be holding any load when you remove them.
- Position your support. Have your second person hold the jack from below, or set the foot of the jack on a block so it cannot drop once the bolts come loose.
- Back out the mounting bolts. Work from the bottom up so the jack does not pivot on the last fastener. Bag and label all hardware (bolts, washers, spacers) by corner.
- Lift the jack clear. Most corner jacks weigh 25 to 30 pounds each, so use two hands and a controlled lift. Walk it away from the camper; do not slide it down the side.
- Repeat for each corner. Work one at a time so the camper stays balanced on the truck or stands throughout.
Once all four are off, inspect the brackets that remain on the camper. Snug any bolts that loosened over the season and wipe the bracket faces clean.

How to Store the Removed Jacks
A jack that sits dirty in a garage corner all winter comes out stiff, gritty and slower to deploy on the next trip. A few habits keep them ready:
- Clean before you store. A wipe-down with a damp rag pulls off road salt, dust and bug residue. Dry them before storage so moisture does not sit on the metal.
- Store them in a consistent orientation. Upright or laid flat, pick one and stay with it across all four. This keeps any lubricant where it should be and makes the four jacks easy to match to their corners.
- Keep them dry and off the floor. Use a wall rack, a shelf, or a tote with a moisture absorber. Concrete floors hold cold and humidity.
- Cover them. A breathable cover or a clean tarp keeps dust off without trapping moisture against the housing.
- Store the hardware with the jacks. Bagged, labeled by corner, kept in the same tote.
For electric jacks, also disconnect the power lead at the camper before storage and protect the connector end from corrosion.
What to Check Before You Reinstall
Reinstalling is the reverse of removal, with a few inspection steps added first:
- Check the brackets. Look for cracks, hairline rust at weld points and any bolt holes that have worn oversized. Replace any bracket hardware that does not look right.
- Check the jack housings. Dents, bent feet, or housings that no longer slide smoothly are a flag.
- Operate each jack through its full travel range before mounting. Catch a problem on the garage floor, not while the camper is in the air.
- Reinstall to the manufacturer’s torque spec for your hardware.
- Run a pre-trip check after the first reinstall. Lift, hold and lower the camper a few inches on each corner, watching for any bolt that wants to back out under load.
A Faster Way If You Do This Often
For owners who remove jacks regularly (weight-conscious mid-size truck owners, off-roaders, anyone storing the camper between weekend trips), the unbolt-and-rebolt routine is what keeps most people from doing it at all. That is the case the EZ Release is built for.
The EZ Release enhances your existing corner bracket with a two-part quick-release system. One half mounts to the bracket you already have. The other half mounts to the jack. To remove a jack, pull the pin and lift it clear. A retention hook at the top catches the jack when the pin is pulled, so it does not drop before you have a grip on it. To reinstall, drop the jack back in and replace the pin. No tools and no second person, and a sub-minute job per corner once you are practiced.

A built-in padlock slot lets you lock the jacks in place when the camper is parked, or when removed jacks sit on a campground rack between trips.
The EZ Release is compatible with Rieco-Titan electric, mechanical and convertible corner jacks. It is not designed for use with heavy-duty tripod jacks. Each set includes four brackets and hardware, available in black (Part Number 559902).
Not sure it fits your jacks? The Rieco-Titan team can confirm compatibility for your specific jack model and bracket before you order.
Frequently Asked Questions
How long does it take to remove truck camper jacks? With standard brackets, plan on 15 to 30 minutes per jack the first time, with a socket set and a second person. With the EZ Release, it’s a sub-minute, tool-free job per corner once you have practiced.
How much do truck camper jacks weigh? Most corner jacks weigh 25 to 30 pounds each. A set of four adds roughly 100 to 120 pounds to your loaded rig.
Do I have to remove the jacks to store my camper? No, but pulling them for the off-season keeps them dry and out of the weather, and it recovers weight and width on the road if you travel with the camper loaded.
Can I remove jacks with the camper loaded? No. The camper must be fully supported by the truck bed or stands, empty of gear and heavy water, before any jack comes off. If you are unsure, leave the jacks on and follow your jack manufacturer’s instructions.


